Workflow
How to Export Stems in Pro Tools
A stem request usually arrives at the end of a project, after the mix is approved and the deadline is close. The stems have to line up, keep their effect tails and add back up to the mix the client signed off on. If one of those goes wrong, the person receiving the files finds out first.
Pro Tools has four native ways to bounce stems. This guide covers each one, the session prep that gives every file the same start point, and a check to make before you send anything.
Key takeaways
Pro Tools has four native ways to bounce stems: Bounce Mix one stem at a time, one Bounce Mix with several Mix Sources (Studio and Ultimate), Track Bounce, and printing buses to new audio tracks.
Every stem should share one start and end point. The Recording Academy's Producers & Engineers Wing recommends exactly this.
End the selection after the last reverb and delay tail.
Bounce Mix doesn't dither. For 16-bit files, put a dither plugin last on a Master Fader assigned to the Mix Source path.
Before you send anything, play the stems together against the approved mix.
New to the term? Start with what music stems are.
Stems or track-outs: confirm what was asked for
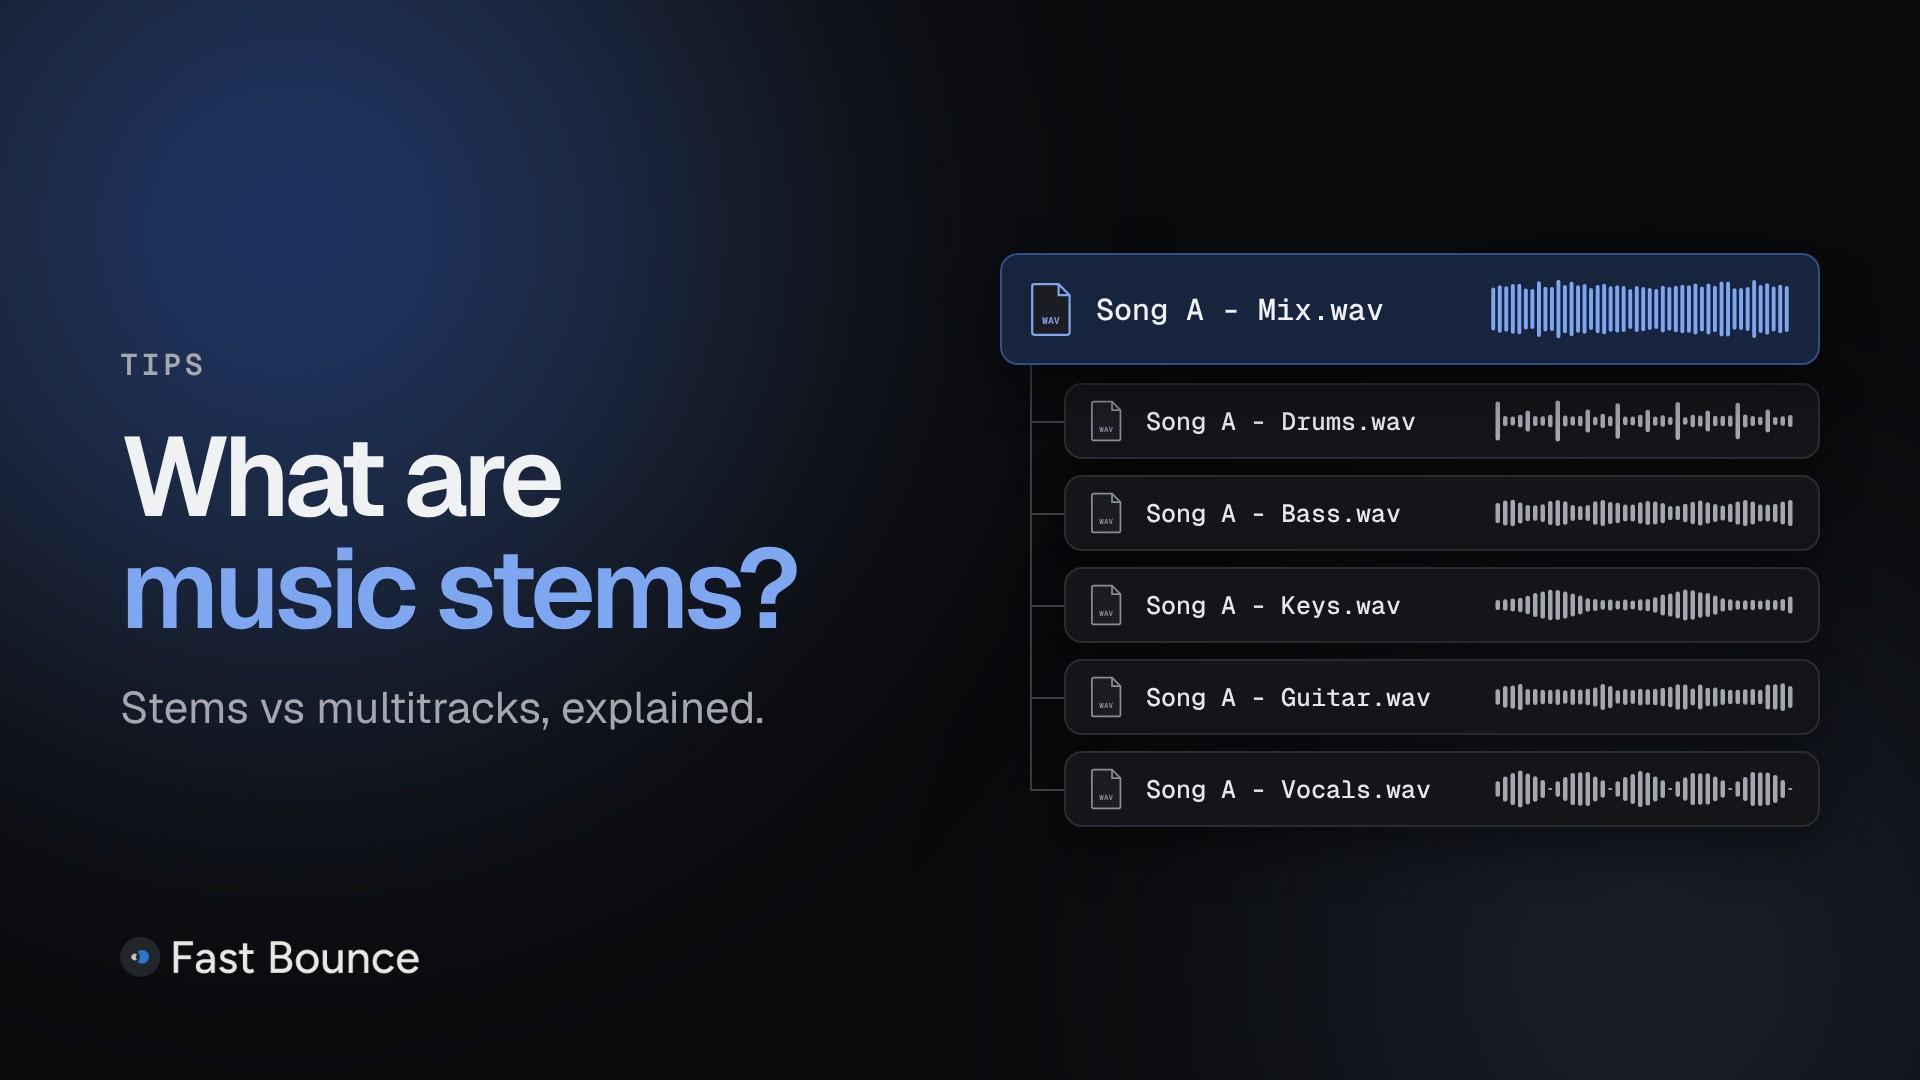
A stem is one audio file that combines related, mixed tracks, such as all the drums. Track-outs are individual tracks, one per file. They're different deliveries, so confirm which one the client wants before you bounce anything.
The words aren't used the same way across the industry. A short message ("grouped, processed stems, or every track on its own?") saves a second round.
The answer also picks the method. Consolidating clips and choosing Export Clips as Files gives you track-outs of the clip audio, without plugins, fader moves or automation. For processed track-outs, use Track Bounce (method 3). Processed stems come from a bounce or a print, which the rest of this guide covers.
Prepare the session
Five decisions made up front prevent most stem problems: the start and end point, effect tails, virtual instruments, master-bus processing and file specs.
One start and end point for every stem
This is the rule that keeps stems aligned. The P&E Wing's 2025 Delivery Recommendations put it plainly: "All stems for any given song should be consolidated and printed with the same start and end point."
Save the range as a memory location that stores the selection, and recall it before every bounce. You never redraw the selection by hand.
Leave room for tails
A bounce covers only the range you select. Extend the end until the last reverb and delay tails have died away. Use that same end point for every stem, so the files stay the same length.
Commit virtual instruments for multitrack deliveries
If you also deliver multitracks, the P&E Wing recommends committing every virtual instrument as an audio track. The receiver then needs neither your instruments nor your presets.
Decide what happens to the master bus
If your mix bus has compression or limiting, stems won't add up exactly to the mix. Bounced without the bus processing, they lose it. Bounced through it one at a time, each stem drives the compressor less than the full mix did.
The P&E Wing's fix keys a stereo-bus compressor with a sidechain input from an uncompressed bounce of the full mix:
Bounce the full mix with the stereo-bus compressor and every plugin after it turned off, and place the file on a new audio track. The P&E Wing calls it the "Key Mix".
Turn the stereo-bus plugins back on and set the compressor's sidechain input to the Key Mix. Don't send the Key Mix to the stereo output: it only feeds the sidechain.
Bounce each stem through the full stereo-bus chain, with everything muted except that stem and its effect returns. Keep the Key Mix track playing (make it solo safe if you solo), or the compressor has nothing to react to.
The compressor then reacts to the whole song, as it did on the approved mix. Whatever you decide, agree on it with the client first.
Match the file specs, and dither 16-bit files
Pro Tools bounces at 16-bit, 24-bit or 32-bit float, at sample rates from 8 kHz to 192 kHz, as Mono (Summed), Multiple Mono or Interleaved files. Use what the client's spec asks for. Without a spec, the session's own format is the safe default.
One detail catches people out: Bounce Mix doesn't dither when it lowers the bit depth. Avid's Pro Tools Reference Guide says to insert a dither plugin last on a Master Fader assigned to the Mix Source path for 16-bit files, even from a 16-bit session. For 24-bit files, Avid says not to use a dither plugin.
Method 1: Bounce Mix, one stem at a time
Bounce Mix is the Pro Tools command that bounces an output or bus to an audio file. Every Pro Tools tier has it. Solo one stem's tracks, bounce, then repeat for the next stem.
Recall your stem range. Without a selection, Pro Tools bounces the length of the longest audible track.
Solo the stem's tracks. Only soloed tracks are bounced. Soloing mutes the other tracks, Aux Inputs included, so the stem's submix and effect returns must be soloed or solo safe. New Aux Input tracks are solo safe by default. Then listen: the stem should sound the way it does in the mix.
Open Bounce Mix. Choose File > Bounce Mix, or press Command+Option+B (Mac) or Control+Alt+B (Windows). Before Pro Tools 2020.11 the command was called Bounce to Disk.
Choose the Mix Source. Usually your main output. Any active output or bus path works, and so does any physical output used in the session.
Set the file options to the delivery spec: file type, format, bit depth and sample rate.
Choose Offline or real time. Offline is usually faster. A session with hardware inserts or other external sources needs a real-time bounce (see the table below).
Name the file with the stem name in it, and choose where it goes.
Bounce, then repeat for the next stem with the same selection.
Pro Tools compensates for bus and plugin delays when it bounces, so plugin latency won't shift one stem against another. Save your settings as a Bounce Mix preset to keep every stem the same: there are 5 quick presets, plus named ones.
For every setting in the window, see our Pro Tools Bounce Mix guide.
Method 2: several stems in one pass
If each stem already has its own bus, Pro Tools Studio and Ultimate can bounce several Mix Sources at once. Click + next to the first Mix Source to add a row, and pick one bus per row.
Studio and Ultimate only. Pro Tools Artist and Intro bounce one Mix Source at a time. On those, use method 1 or method 4.
One file per source. Pro Tools adds the source name and a number to the file name you type. Name your buses clearly (DRUMS, BASS, VOX) and the files are named clearly too.
One file for all of them. With WAV (BWF), Studio and Ultimate can also write every stem into one interleaved file. Only choose it if the receiver asked for it.
A bus carries only what's routed to it. A bus Mix Source doesn't include what comes after it: the plugins, fader and automation on an Aux submix it feeds, or the processing on your main output's Master Fader. If a stem's processing lives on an Aux submix, send that Aux to its own stem bus and pick that bus, or bounce the Aux with Track Bounce (method 3).
Give each stem its own returns. A shared reverb return can feed only one path, so a stem that needs its own reverb and delay usually needs its own return.
Method 3: Track Bounce for tracks and submixes
Track Bounce, added in Pro Tools 12.3, bounces selected tracks straight to disk, with no rerouting.
Select the tracks and choose Track > Bounce, right-click a track name and choose Bounce, or press Command+Option+Shift+B (Mac) or Control+Alt+Shift+B (Windows). It bounces audio, Aux Input, Master Fader and Instrument tracks.
Two details matter for stems:
Range. Track Bounce uses your selection. With none, each file goes from the session start to that track's last sample of audio, so files from different tracks can end at different points. Use one shared selection.
Options. The same as Bounce Mix, plus a choice to bounce track volume and pan automation into the file or not.
If each stem has its own Aux submix, Track Bounce on those Aux tracks gives you one processed file per stem.
Method 4: print stems to new audio tracks
Printing means recording each stem's bus onto a new audio track inside the session, instead of bouncing it to disk. Print when you want to ride volume, pan or mutes during the pass, capture outboard gear, or keep the stems inside the session.
Route each stem's tracks to its own bus.
Create one audio track per stem, with its input set to that bus.
Record-enable the print tracks.
Record the song in one real-time pass, with time added for tails.
Consolidate each print track. Separate clips on a track become separate files.
Choose Export Clips as Files (Command+Shift+K or Control+Shift+K).
Export Clips as Files dithers by itself when it lowers the bit depth. The print tracks count toward your Pro Tools tier's track limit.
Which method should you use?
Choose by your Pro Tools tier, whether the session needs real-time processing, and how many stems you deliver.
Method | Pro Tools tier | Offline? |
|---|---|---|
Bounce Mix, one stem at a time | All tiers | Yes, with the exceptions below |
Bounce Mix, several Mix Sources | Studio and Ultimate | Yes, with the exceptions below |
Track Bounce | No limit in Avid's guide | Yes, with the same options as Bounce Mix |
Print to audio tracks | All tiers, within the track count | No, it records in real time |
Export Clips as Files (track-outs, not stems) | All tiers | Not needed |
What an offline bounce leaves out: hardware inserts, external MIDI-driven audio, external sources monitored through Aux Input tracks, DSP-only plugins and externally synchronized audio. If your session uses any of them, bounce in real time or print. Offline isn't always faster either: in a very large session it can be slower than real time.
One more trap: Consolidate doesn't include automation. If your rides must be in the file, use Bounce Mix, Track Bounce or a print.
Check the stems before you send them
Confirm that the stems line up and add back up to the mix. The P&E Wing asks that they add up "as closely as possible" to the approved mix.
Create a new, empty session at the same sample rate.
Import every stem at the same start point.
Import the approved mix next to them.
Play the stems together, then switch to the mix. Listen for level jumps, missing effects, cut tails and timing offsets.
Optionally, flip the polarity of the mix and play it against the stems. The closer to silence, the closer the stems add up to the mix. With compression or limiting on the mix bus, expect some left over.
Check the file names too. The P&E Wing's template names a stem 01_ArtistInitials_SongTitle_MixerInitialsMixRevision_StemName_sampleratebitdepth.wav. Whatever you use, keep it the same from song to song.
Bounce every stem of every song with Fast Bounce
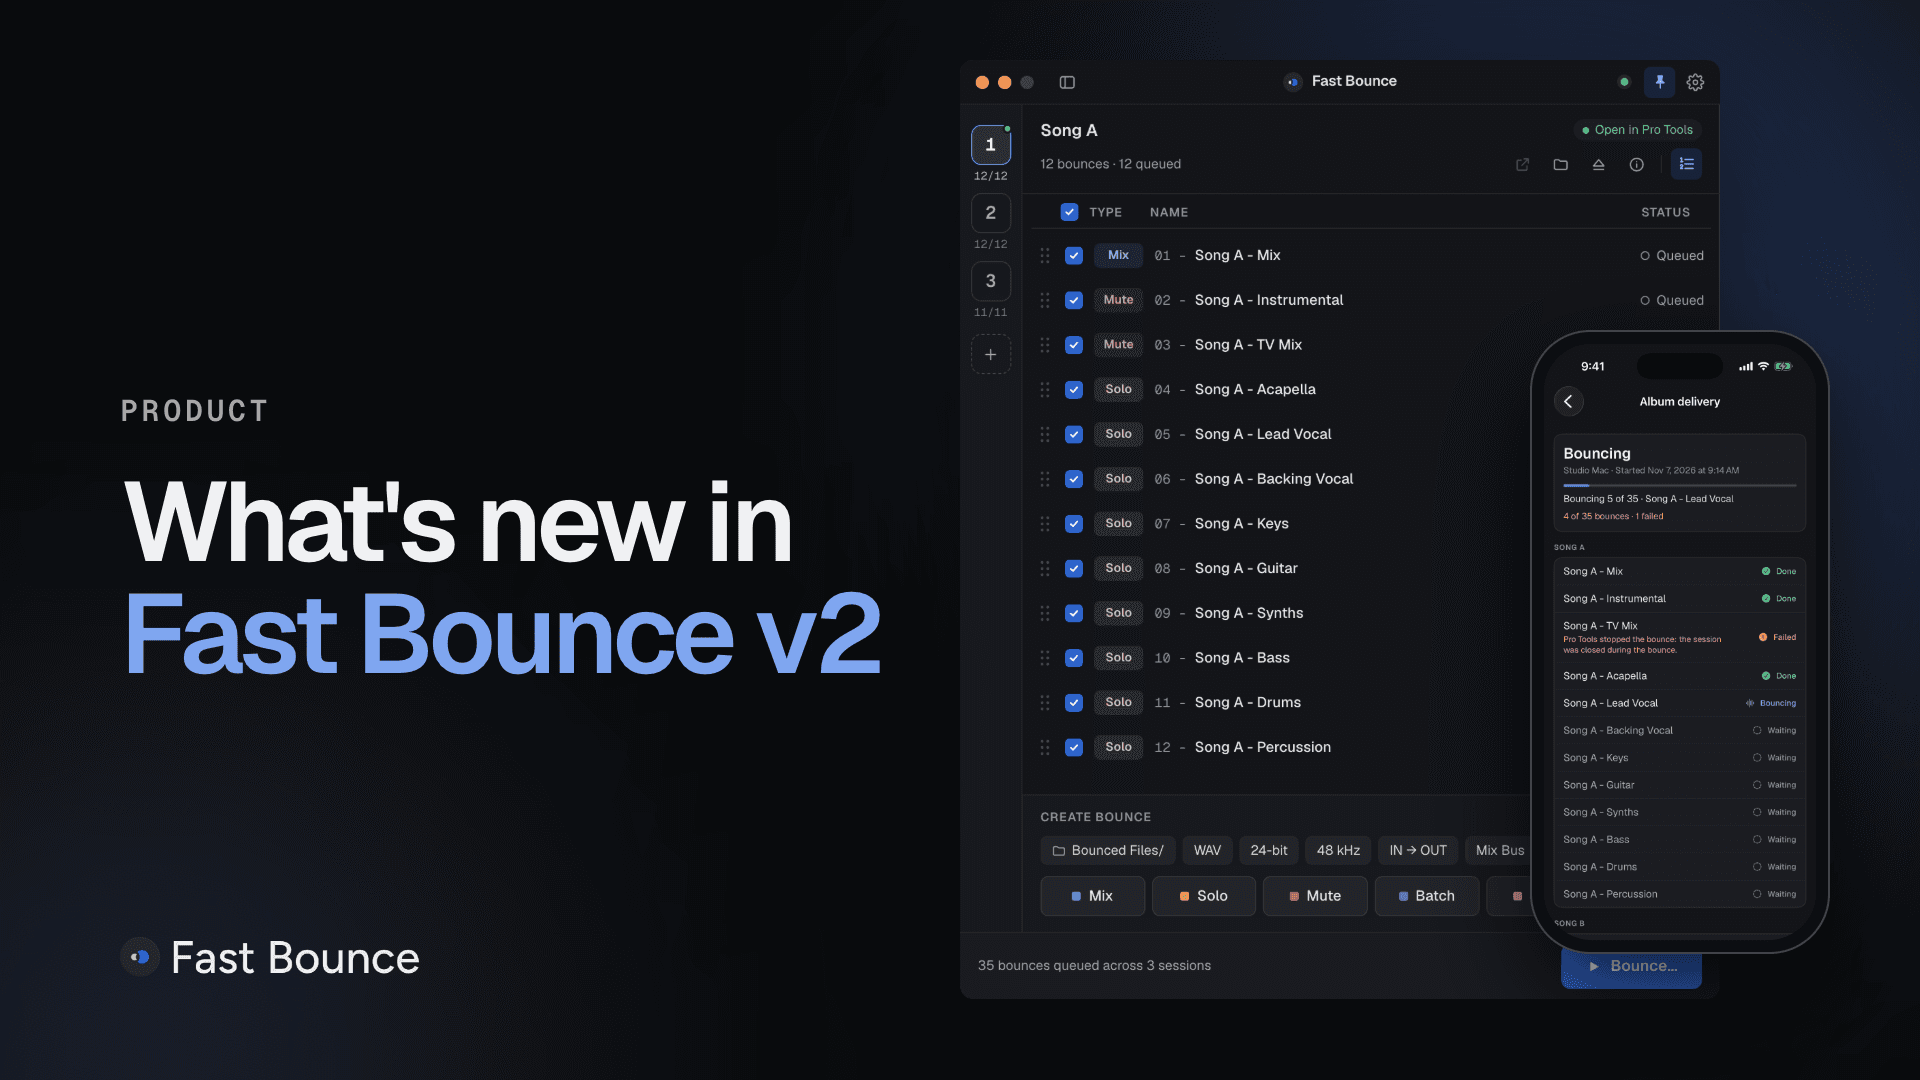
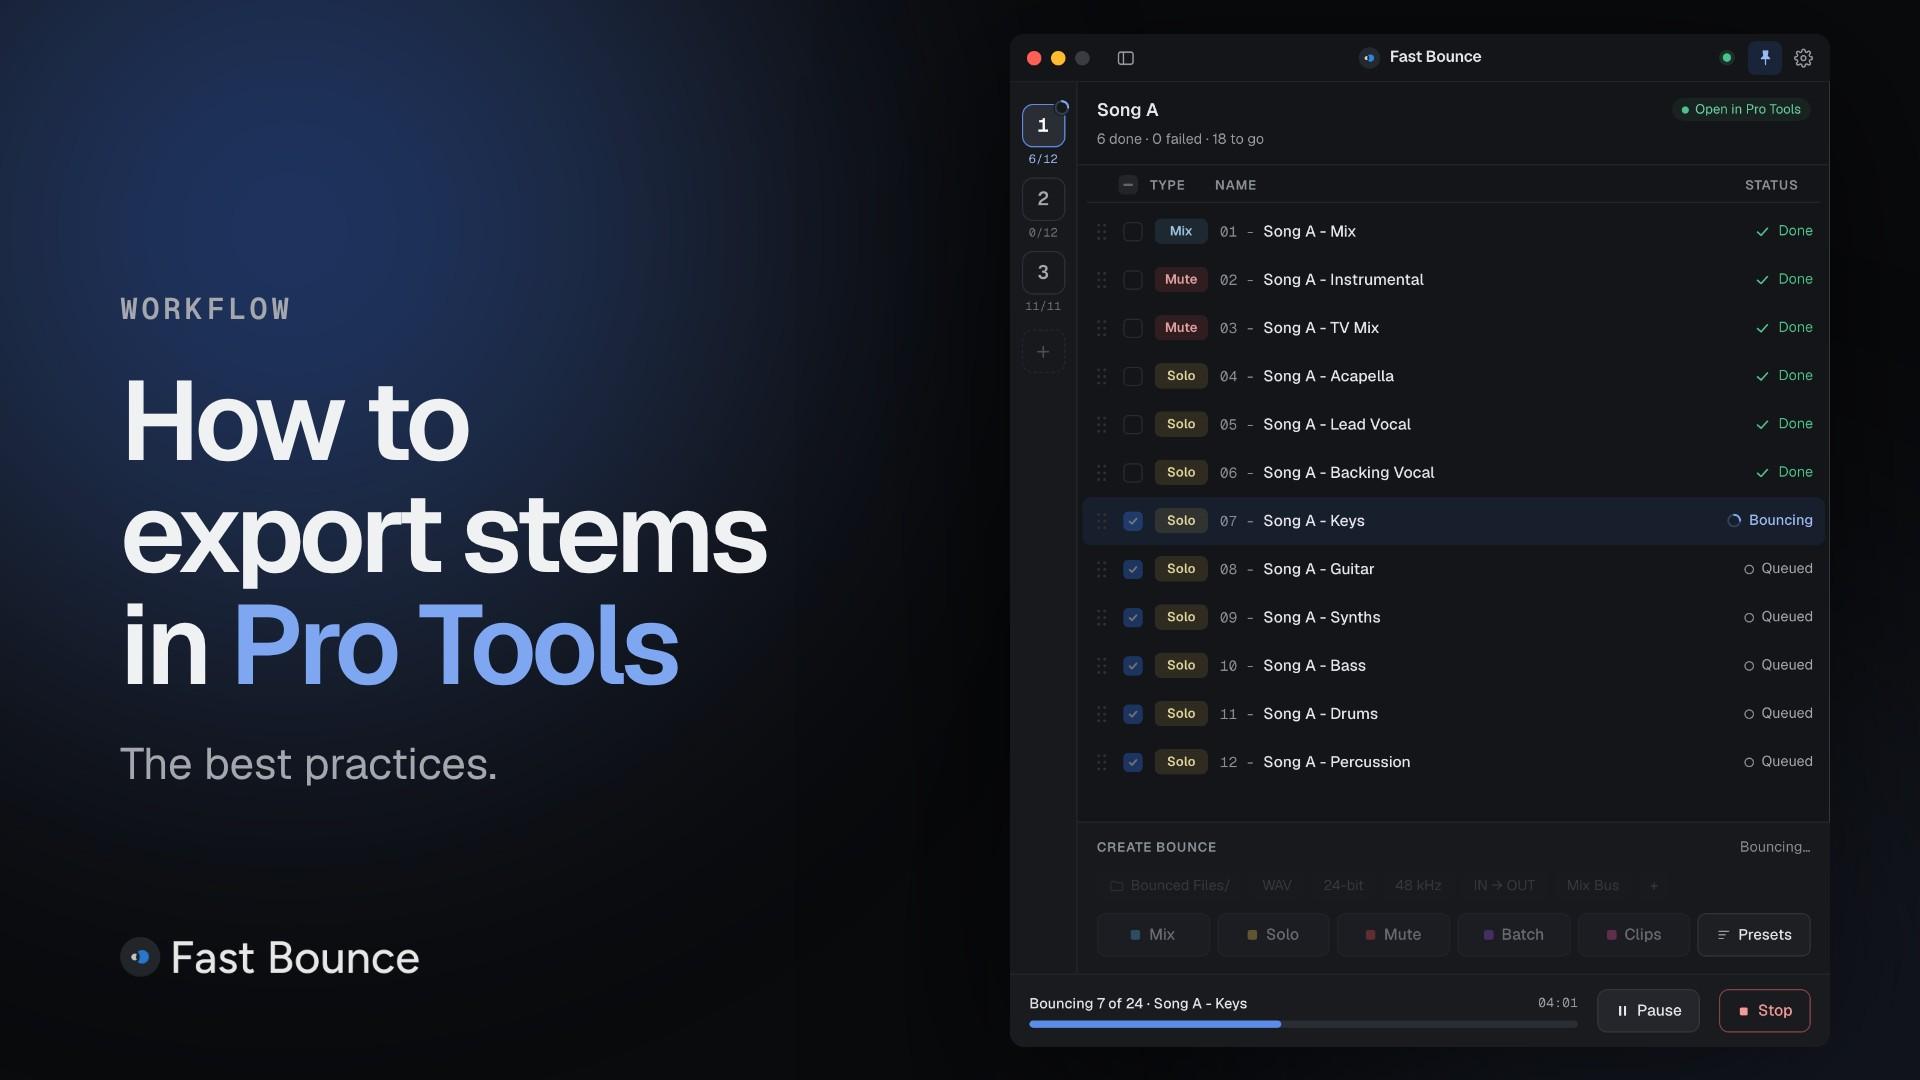
For one song, the methods above are fine. For an album, every stem of every song is another bounce to set up, start and wait for, and each alternate version adds more. Fast Bounce is built for that part of the job.
Fast Bounce is a bounce automation app for Pro Tools 2024.10 or later, on macOS and Windows. It drives Pro Tools through Avid's own scripting interface, and every file comes from Pro Tools' own Bounce Mix. So the prep in this guide carries straight over: the range, the tails, the master bus and the dither.
Solo adds one bounce with the selected tracks soloed together: a drum stem from every drum track.
Batch adds one Solo bounce per track, picked by hand or by rule: all audio tracks, all folder tracks, or the tracks inside the selected folders. Eight folder tracks become eight stems: Add 8 Bounces.
One range for every stem. The Range chip takes a pair of memory locations, a memory location that holds a range, or the timeline selection. Every bounce starts and ends exactly where you set it.
Mix source. Pick the bus each bounce comes from. Pick several, and one bounce makes one file per source in the same pass.
Naming Rules name every new bounce from the session and the track, so
Song A - Drums.wavis right before anything bounces.Presets save your stem set from your template. Apply them to a new session and the Check step finds any missing track, bus or marker before anything bounces.
Press Bounce…, set the session order and press Start Bouncing. Fast Bounce switches sessions in Pro Tools by itself. Pro Tools bounces in the background, so you can keep using other apps. When it's done, the Bounce Summary lists every file made and any failure with its reason. For hardware inserts, turn on Realtime bounce.
The free plan has every bounce mode and presets, with up to 4 bounces per session and one session at a time. Paid plans add unlimited bounces, automatic session switching and the Bounce Summary by email and on your iPhone. See how adding bounces works, how presets check a session, or compare plans.
Five habits behind every clean stem delivery
Confirm whether the client wants stems or track-outs.
Use one start and end point for every file, with room for tails.
Agree on master-bus processing before you bounce.
Match the spec, and dither 16-bit files.
Play the stems against the approved mix before you send them.